 Easter was approaching, and we were finishing up a unit on bonding. Several of my students had seen a Pinterest post about dyeing eggs with shaving cream and pleaded, “Please do it”. Considering this to be a perfect application of polar and non-polar substances, and as it was their idea, my response was “Let’s do it!”! I provided several dozen boiled eggs, and the students went to work.
The chemistry of marbling can be explained by polar and non-polar molecules and their interactions. Polar molecules are often described as hydrophilic (water-loving) and non-polar molecules as hydrophobic (water-fearing). We had already observed many examples of polar and non-polar substances and their molecular interactions. “Oil and water don’t mix”, “like dissolves like”, and “water is polar and oil is non-polar” had been firmly established.
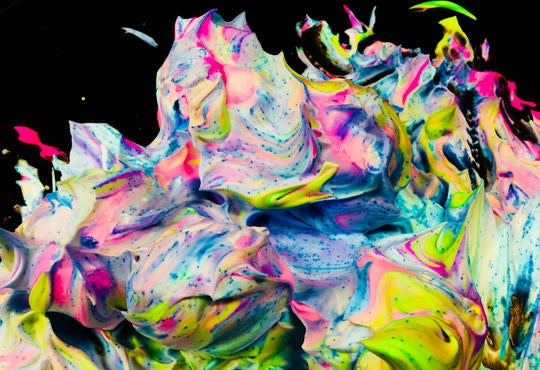
Soap is a substance composed of molecules with both a polar end and a non-polar end. This means that it can combine with both oils and water. Shaving cream, which is mostly composed of air and soap, has polar and non-polar properties because of the polar (hydrophilic) head and non-polar (hydrophobic) tail of the soap molecules. Shaving cream’s hydrophobic nature means that when you drop food coloring, which is water-based, onto it, the coloring does not spread. The color remains suspended in the shaving cream.
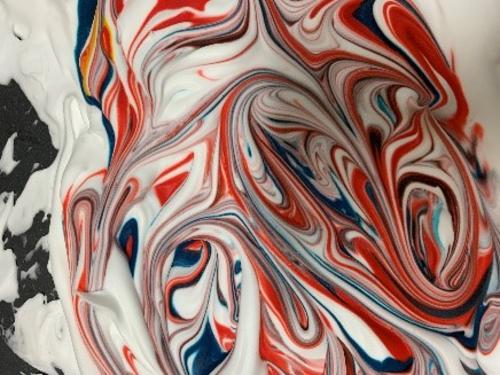 Swirling food coloring in shaving cream
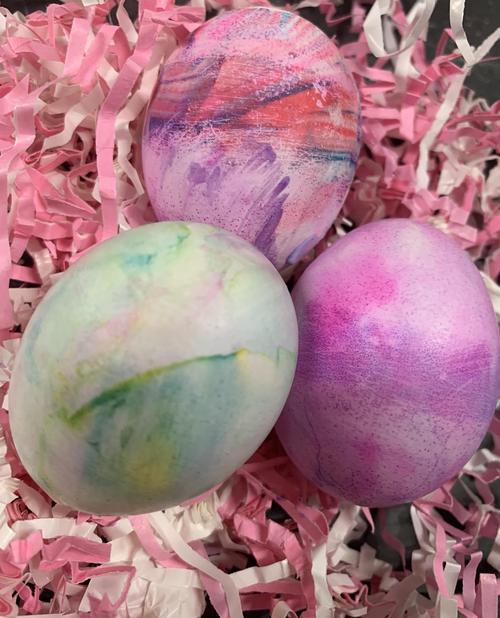
When you place an egg on top of the shaving cream and into the colored swirls, the food coloring adheres to the egg, creating a beautiful colored pattern of marbling that transfers permanently to the egg.
In addition to eggs, my students used paper and envelopes to create beautiful permanent “marble” designs for notes. Paper contains cellulose, a material that is hydrophilic, so the dye transfers from the shaving cream to the paper easily, becoming permanent.
This activity was a quick, fun way to apply chemistry concepts to a “real-life” seasonally appropriate activity, and, as a bonus, it was their idea. Students are now able to explain the science involved in a popular internet craft project.
Materials
- Shaving cream
- Boiled eggs
- Food coloring
- Ruler
- Card stock or envelopes (if paper marbling)
- Trays, if you don’t want to work directly on a table top. I have lab tables that don’t stain, so clean-up is easy.
- Gloves to prevent dye from staining hands
Procedure
- Squirt shaving cream onto the table top or tray. Spread it out to a thickness of about ½ of an inch.
- Add drops of food coloring onto the shaving cream. I like to use colors next to each other that blend into an attractive secondary color, like blue next to red to make purple.
- Using a finger, swirl the colors around in the shaving cream to create a pattern that you like. Too much mixing will not give you a marbled look. Too little mixing will produce too much white space.
- Place one side of the egg on the shaving cream and allow it to sit in the colored shaving cream for 5 minutes.
- Then lift and turn the egg so that an uncolored portion is toward the colored swirls in the shaving cream.
- Repeat the steps above until the egg is completely covered in colored shaving cream as shown on the front cover of this issue.
- After the egg has sat for five additional minutes, remove and rinse it with water or simply wipe the shaving cream off with a paper towel.
Additional instructions for marbling paper
- Press the paper into the shaving cream lightly so that the entire surface is covered.
- Remove the shaving cream-covered paper and lay it on the table.
- Using a ruler, evenly scrape off the layer of shaving cream, leaving a beautiful marbled design on your paper.
- Allow paper to dry flat and use as you would any decorative paper.